

Calibrating FillStitch ColorTap Transfers with a Hotpress:
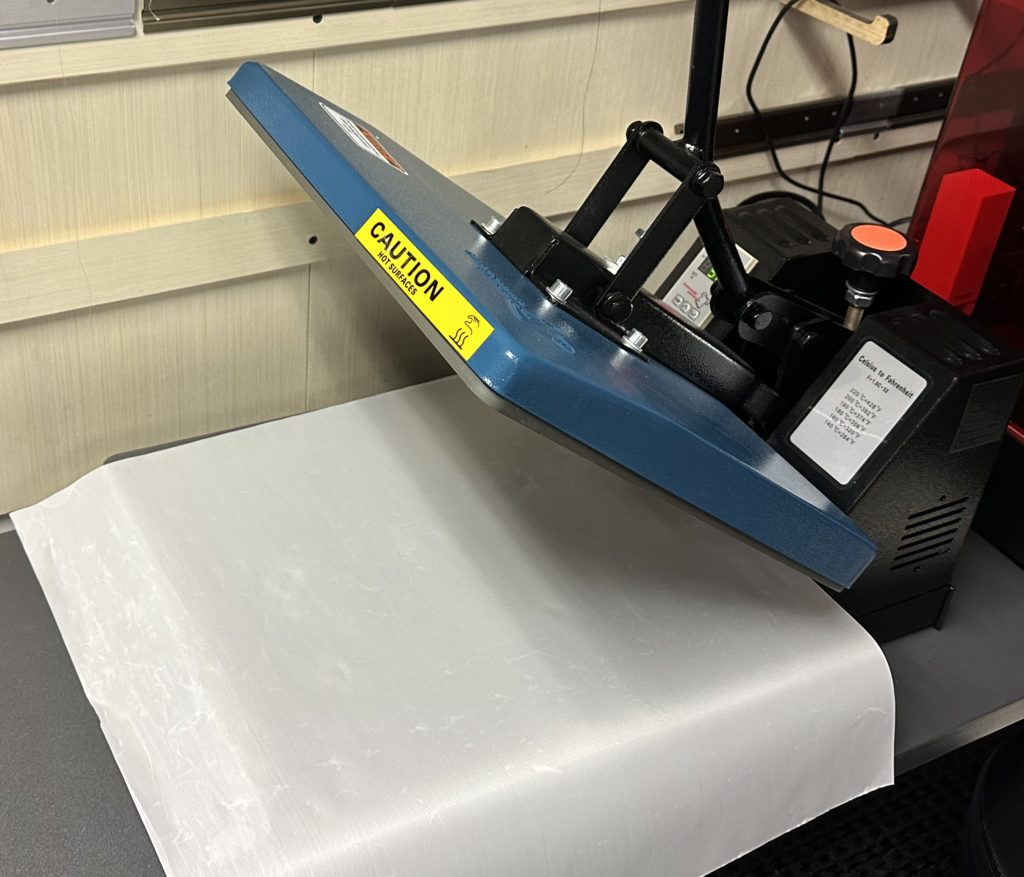
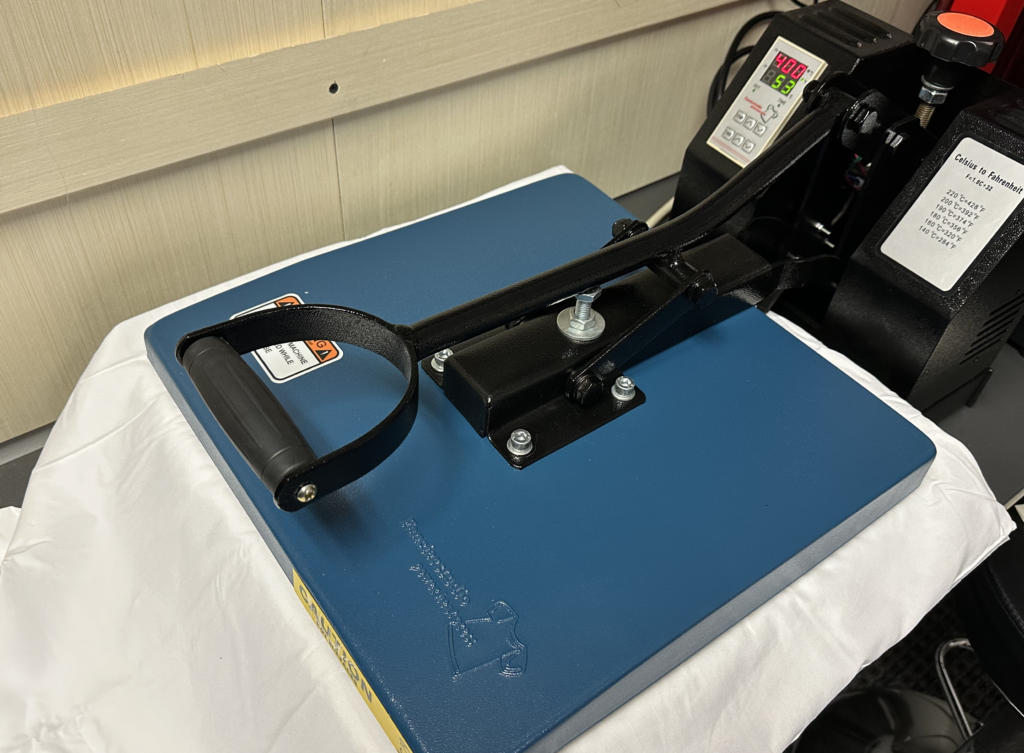
Step 1 Preparation: Clean your industrial hotpress to remove any debris. Preheat according to the machine’s guidelines, generally around 400°F (204°C).
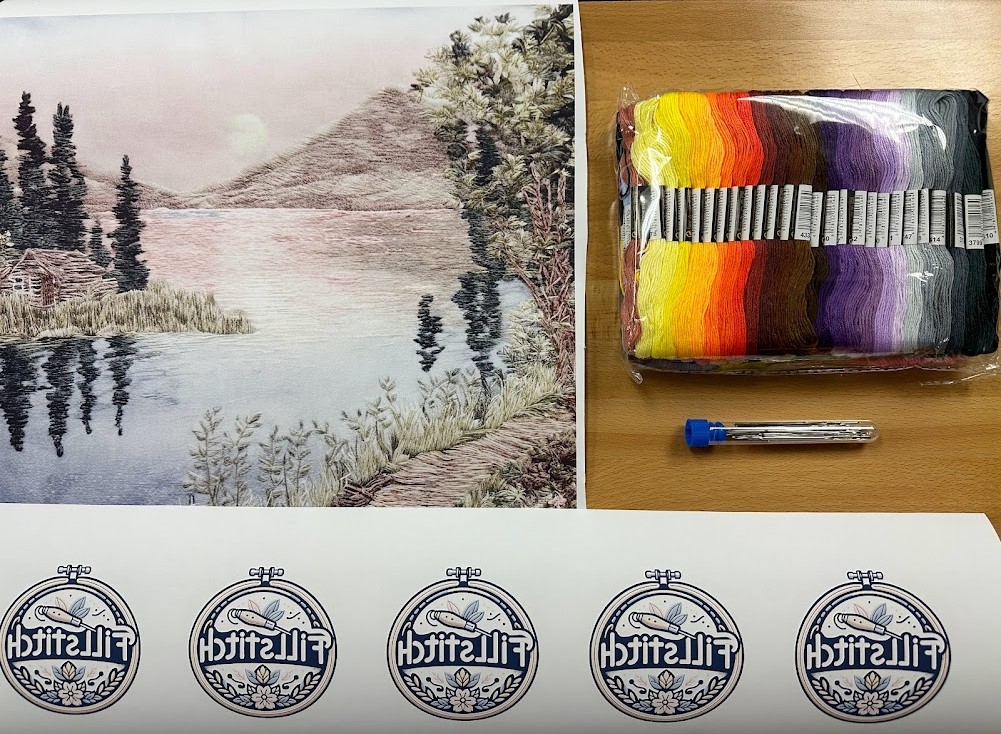
Step 2 Receive FillStitch ColorTap Transfer: Obtain the pre-printed FillStitch ColorTap transfer test sheets designed for ColorTap transfer.
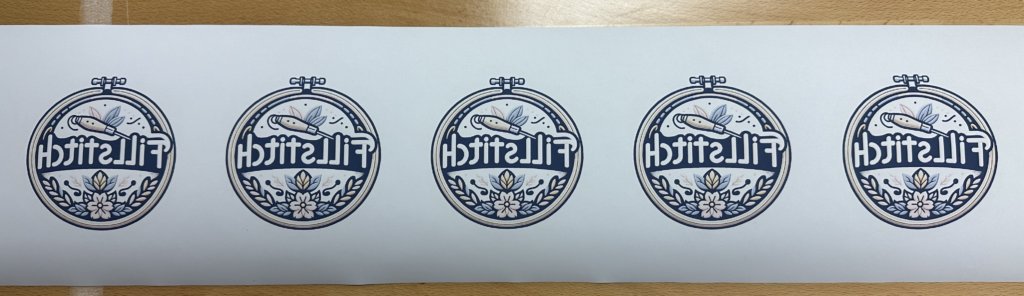
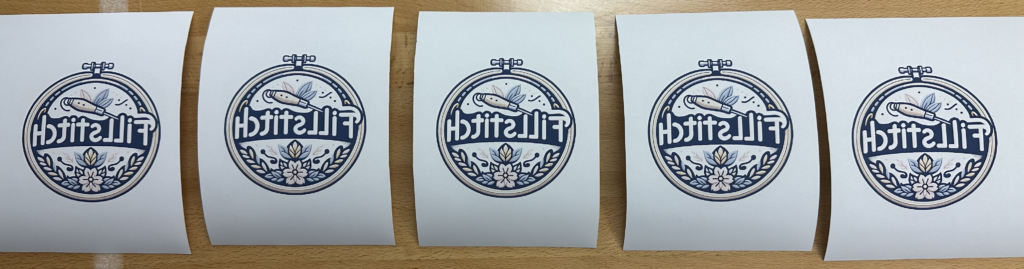
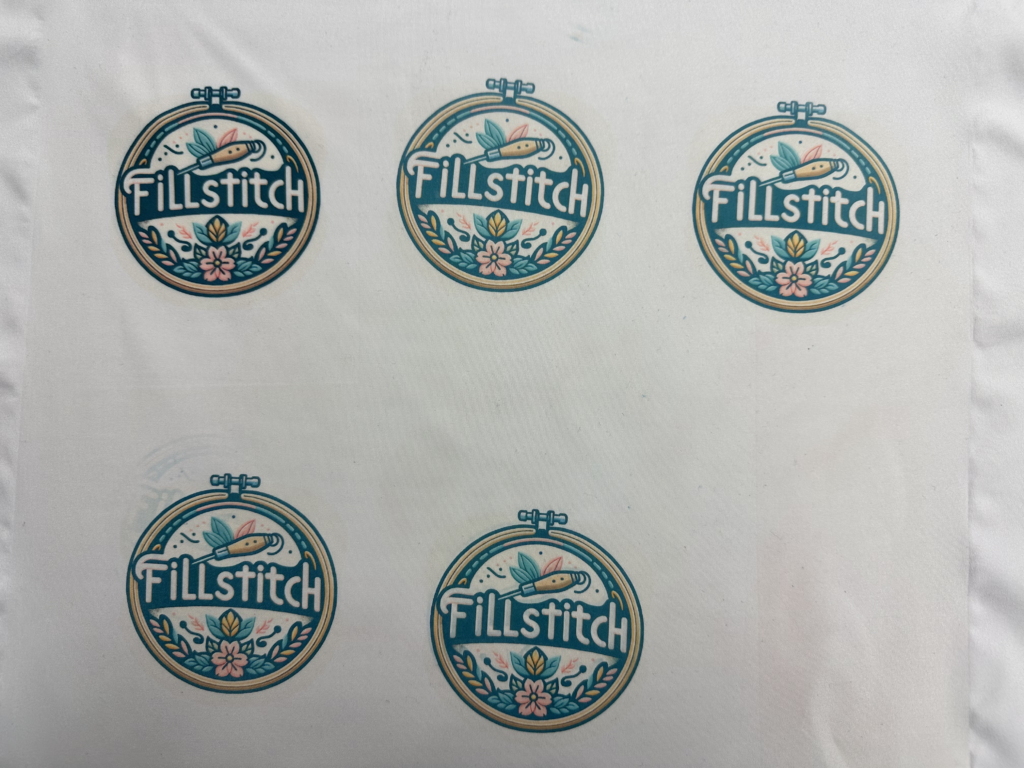
Step 3 Cutting Test Sheets: Divide your FillStitch ColorTap transfer into five equal sections for testing.
Step 4 Pre-Press: Place your chosen material onto the hotpress and briefly apply pressure to eliminate moisture.
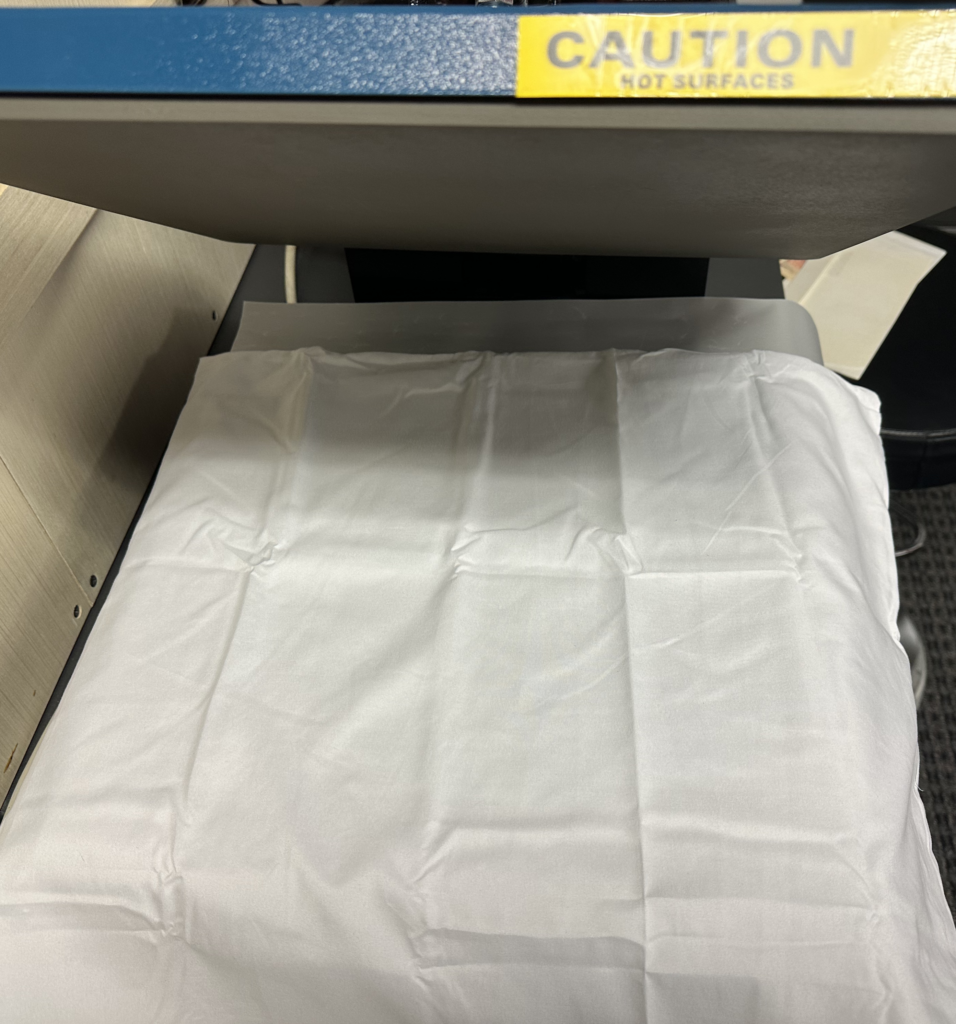
Step 5 After PrePress: Ensure that the wrinkles in the fabric have been mostly pressed out before proceeding.
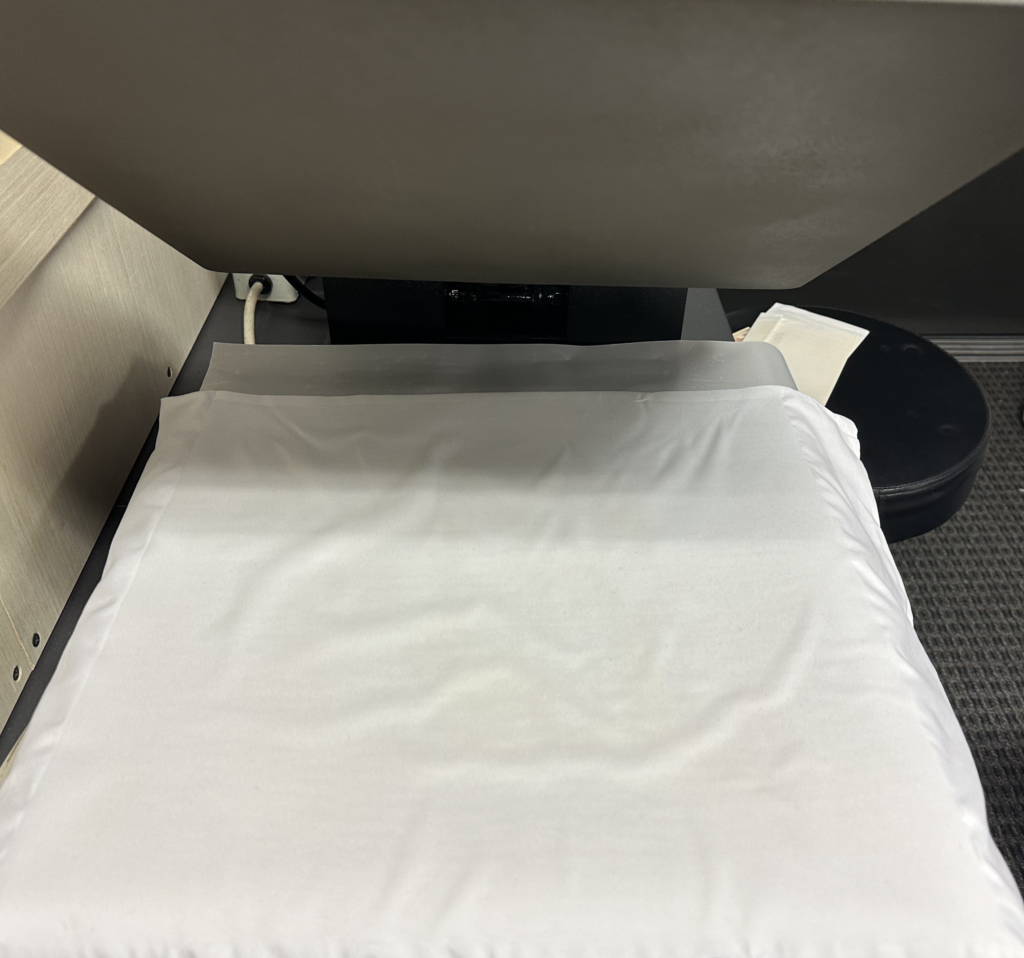
Step 6 Alignment: Lay the first section of your FillStitch ColorTap transfer onto the material with the image facing down.
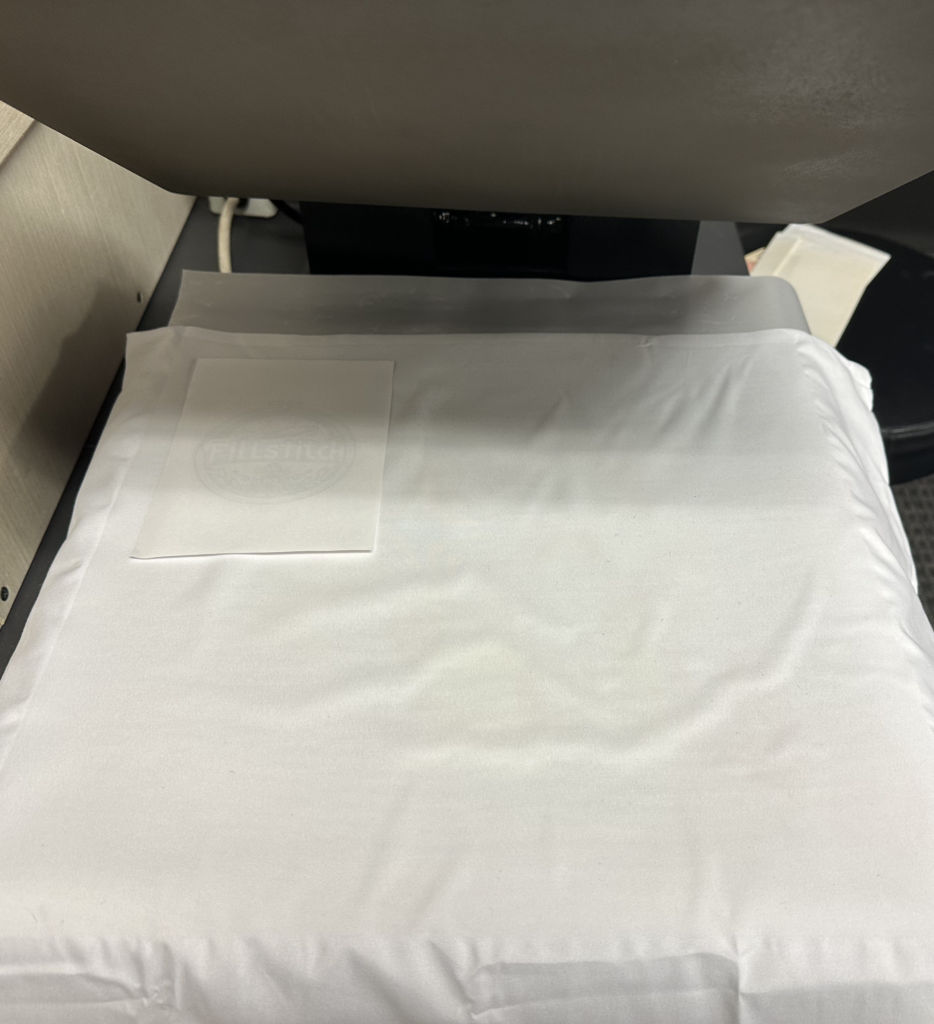
Step 7 Pressing: Close the hotpress and set the timer for 1 minute for the first test, increasing each subsequent test by one minute, up to 6 minutes. Use the test sheets to try time slowly increasing the time and watch closely to make sure there is no burning! Different presses have different settings. Start with quick safe presses and then work down to slower presses.
Step 8 Post-Press: Open the press carefully after each test and peel off the transfer paper gently. Let the material cool.
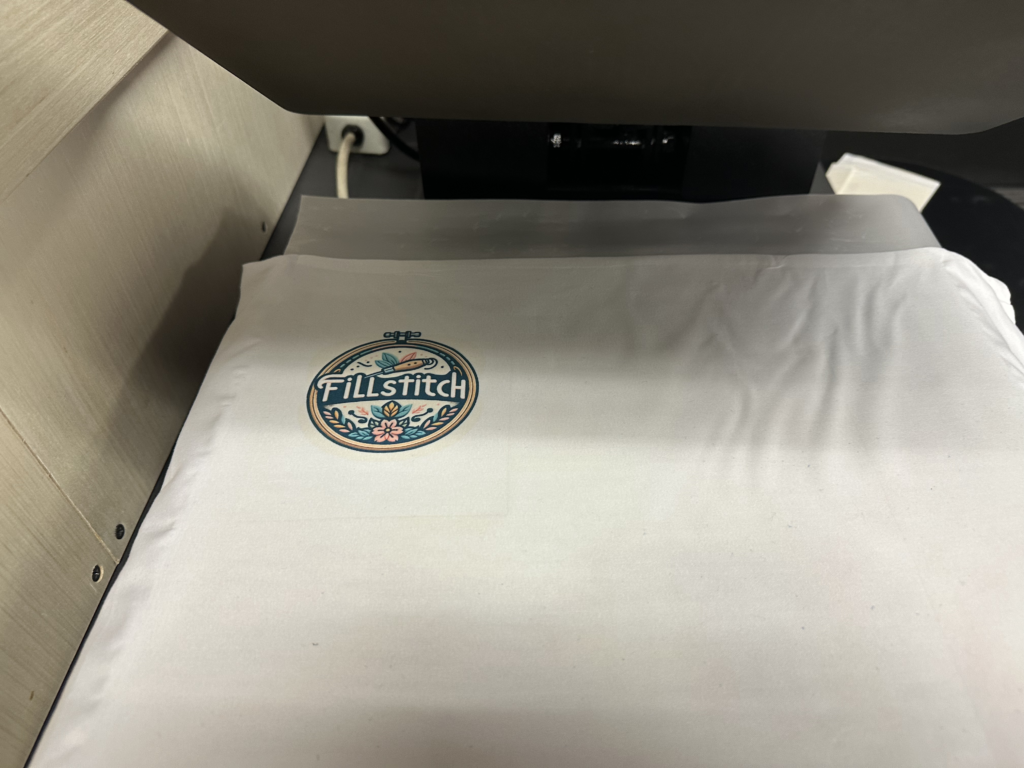
Step 9 Evaluation: Review each result to determine the best heat application time for your materials and the FillStitch ColorTap transfer. ColorTap Transfers are single use and should be discarded after heat pressing.
Troubleshooting
Troubleshooting: Image too light
A ColorTap transfer image appearing too light after hot pressing can occur due to various factors related to the ColorTap transfer process and hot pressing technique. Here are some possible reasons:
- Insufficient heat and pressure: ColorTap transfer requires both heat and pressure to transfer the dye from the ColorTap transfer paper to the substrate (usually fabric or another material). If the heat or pressure applied during hot pressing is inadequate, it may result in incomplete transfer of the dye, leading to a lighter image.
- Incorrect temperature and time settings: The ColorTap transfer process typically requires specific temperature and time settings to ensure proper dye ColorTap transfer. If the temperature or time is set too low, the image may not transfer fully or may appear lighter than desired.
- Substrate issues: The type and quality of the substrate material can affect the ColorTap transfer process. Some materials may not hold the dye as well as others, leading to a lighter image. Additionally, the substrate’s color can interact with the dye, affecting the final color appearance. The more polyester content, the better the color! The lighter the fabric, the better the color! White polyester 100% fabric is recommended.
Troubleshooting: Image has a shadow image
If your ColorTap Transfer print has a shadow or ghost image, it’s likely due to an issue with the heat press part of the process. Here are some common reasons for shadow images in ColorTap transfer printing and how to address them:
- Heat press issues: Uneven heat distribution or pressure in the heat press can result in a shadow image. Make sure your heat press is properly calibrated and that you’re applying even pressure across the entire substrate.
- Overlapping image: If you have multiple copies of the same image on the ColorTap Transfer paper and they overlap during the heat press process, it can create a ghost or shadow image. Ensure that there is only one copy of the image on the paper and that it’s correctly positioned on the substrate.
- Substrate movement: If the substrate shifts or moves during the heat press process, it can lead to a ghost image. Make sure the substrate is securely positioned and doesn’t move during pressing.
- Do not ‘double press’ your part
- Make sure you are using high quality PTFE/glass sheets to separate the foam of your press from your parts. The ink cannot pass through this.
To remove the ghosting, taping the ColorTap transfer image to the fabric using removable high temperature rated Kapton tape is a great way to prevent shifting if you see that happening often.
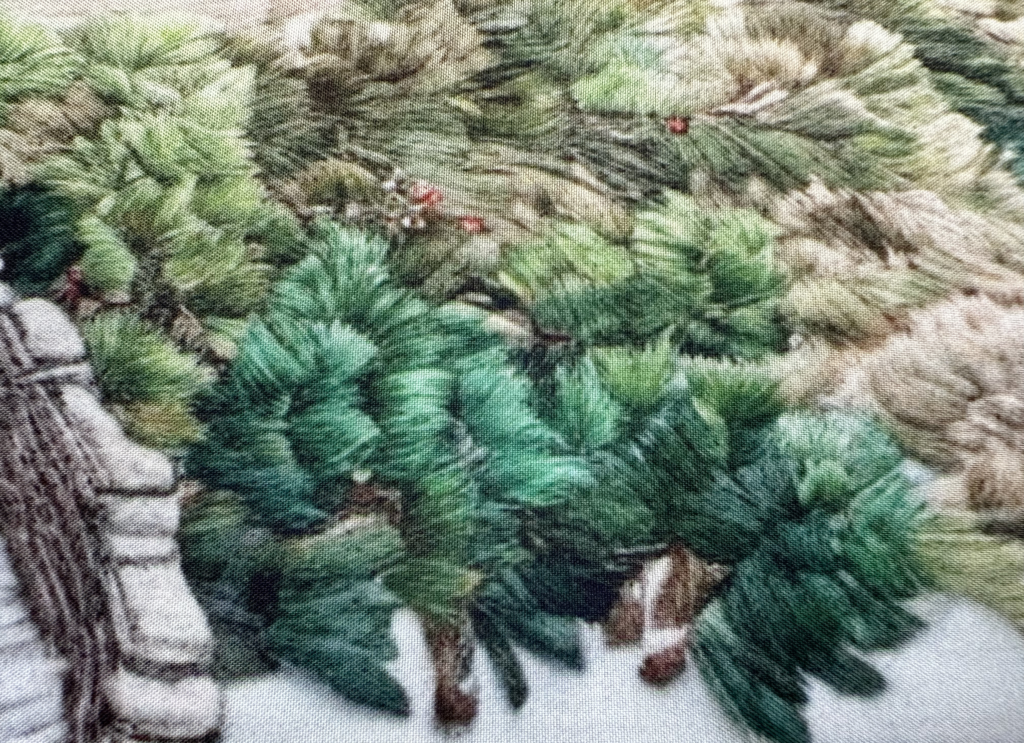
Troubleshooting: Image has pattern lines inside of it
This is caused by insufficient motion of the iron and is the pattern of the iron face. See the iron’s groves below.
Troubleshooting: Full test set
You have 5 test ColorTap Transfers with your kit for calibrating. Test different pressures and temperatures to find what fits best! Use a scrap of fabric to test this before your large print!
We recommend the following: 1-2 minutes at 400 Degrees Fahrenheit. Be sure to work with shortest times first and never overheat the fabric! Remain with the fabric!
After Calibration and Testing
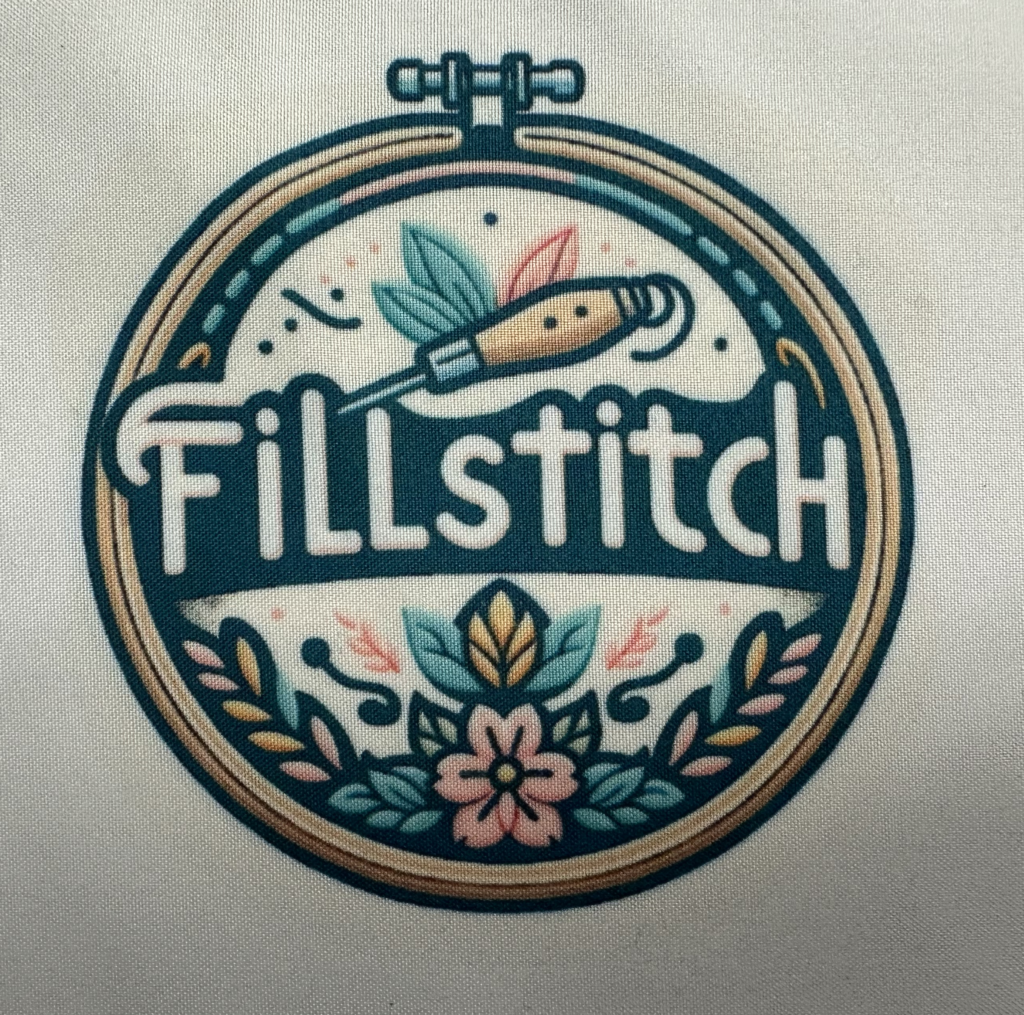
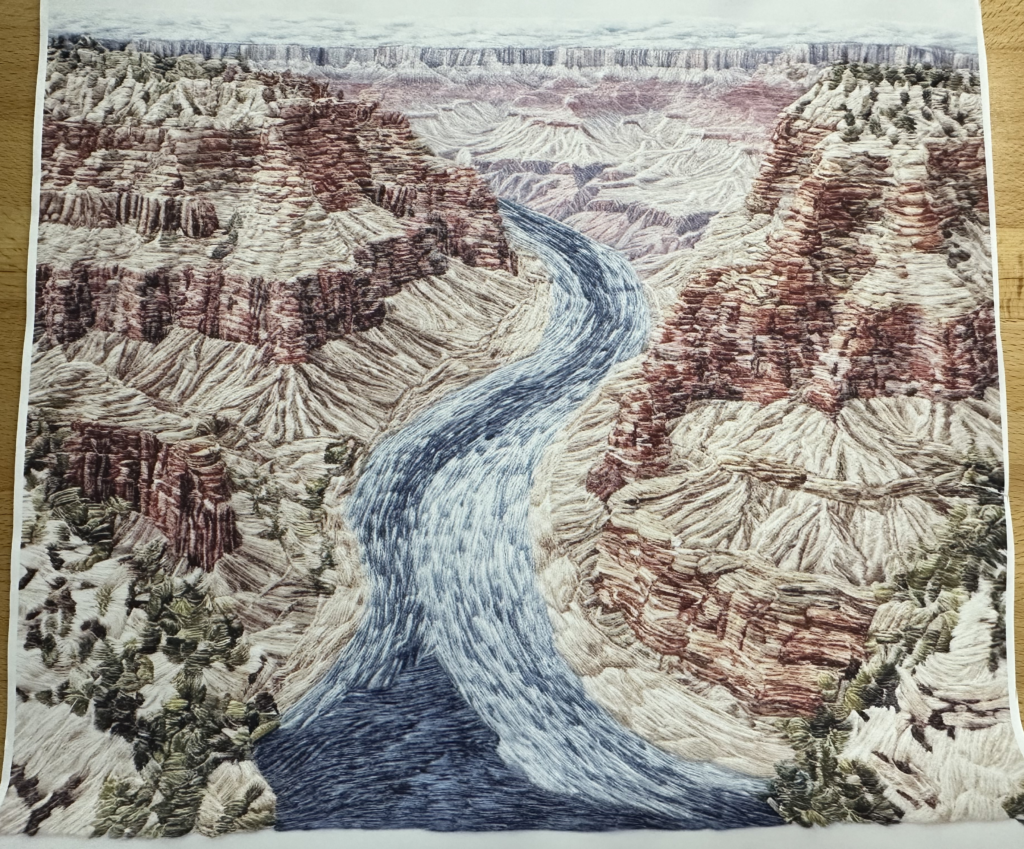
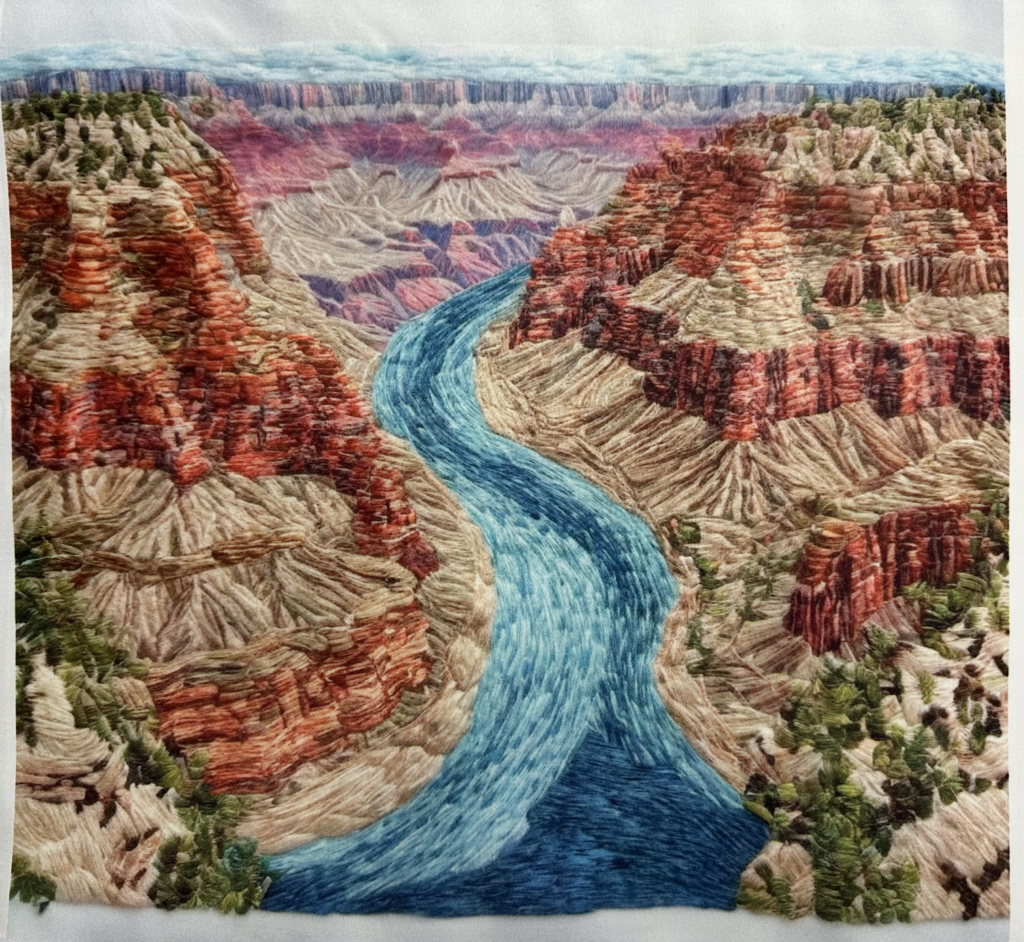
After you’ve completed calibration, you are ready to make! As you probably noticed from the sheets, the ColorTap Transfers appear faded; this is normal! Look below at the transfer before, and the fabric after.
ColorTap Transfer before:
Fabric after being pressed (WOW! Look at that color!!!)
ColorTap Transfer Before (Faded)
Fabric after being pressed (Colorful!)
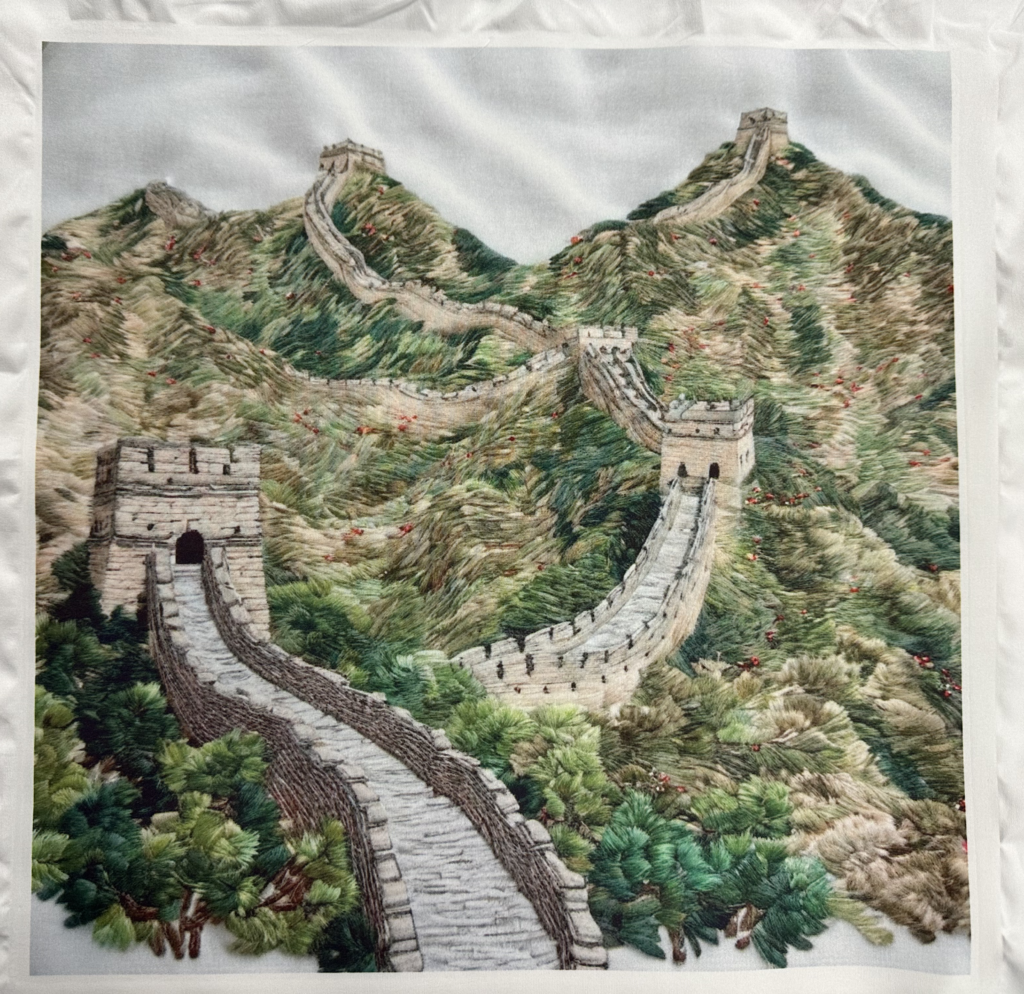
The detail looks like embroidery right away! You can even leave the fabric like this and you’re done if you’d like!
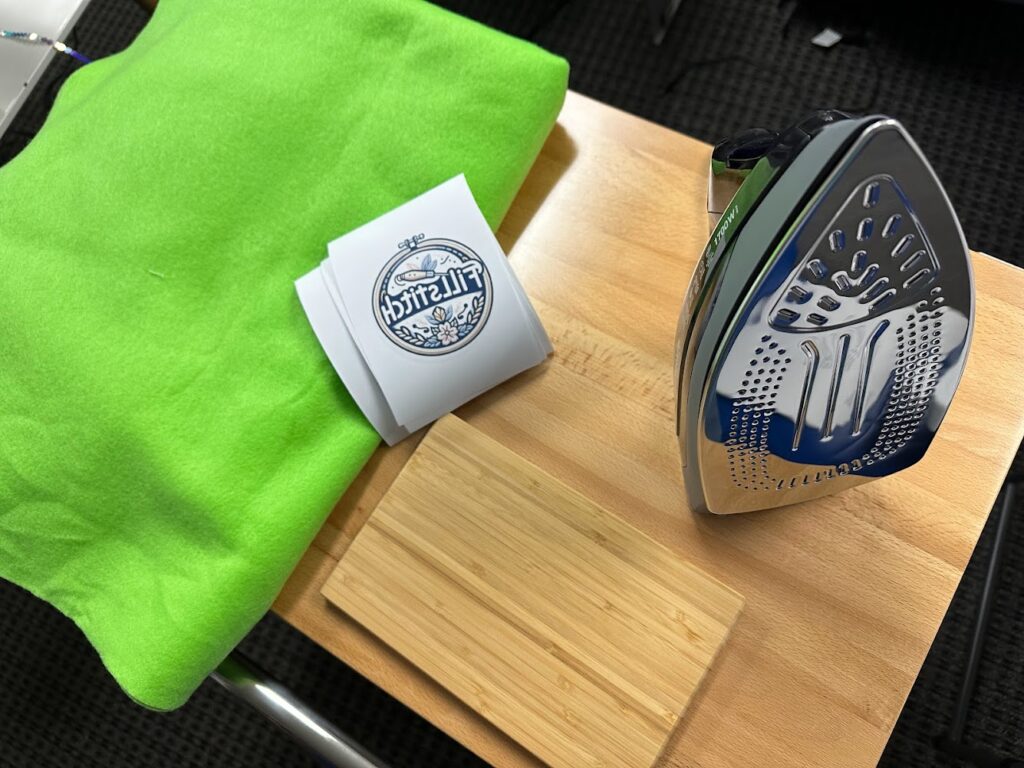
Using a FillStitch ColorTap Transfer with an Iron
Limitations: An iron probably won’t provide the same quality as an industrial hotpress that you could get off of Amazon, but a good iron might work great if you’re patient! It may deliver uneven heat and pressure, which can result in a less than ideal transfer. It can work though if you’re determined and do some testing with the test squares!
Preparation: Heat your iron to its maximum setting, ensuring there’s no water for steam.
Receive FillStitch ColorTap Transfer: Have your FillStitch ColorTap Transfer test sheets ready to go.
Cutting Test Sheets: Cut the transfer into six sections for time testing.
Pre-Press: Use the iron to preheat your material and remove any moisture.
Alignment: Position the first section of the FillStitch ColorTap transfer onto your material, printed side down, and secure it if necessary. For larger pieces, a high temperature tape (like Kapton tape) can be used to help secure the design against the fabric so that it doesn’t move during heating. Experiment with both options.
Pressing: Firmly press the iron over the transfer, starting with 1 minute and increasing in one-minute increments for each test, without staying too long in one spot to avoid burning. Be careful not to slide the design on the fabric or you will see ‘ghosting’ which is harder to hand stitch later.
Post-Press: Remove the transfer paper with care and let the material cool after each test.
Evaluation: Examine the quality of each test transfer to find the ideal timing for using your iron with the FillStitch ColorTap transfer.
FAQ’s
Best Fabrics for FillStitch ColorTap Transfers:
- Polyester: This is the most ideal fabric for FillStitch ColorTap transfers because polyester fabrics can hold onto the dye well after the heat press process, resulting in bright and lasting colors.
- Poly Blends: Fabrics that are a blend of polyester and other materials can also work, but the higher the polyester content, the better the transfer. For instance, a blend with at least 60% polyester is often recommended for vibrant results.
- Lycra/Spandex: These materials often contain polyester and work well with FillStitch ColorTap transfers, retaining the stretchiness of the fabric while displaying vivid colors.
- Microfiber: As it is typically made from polyester, microfiber is also suitable for FillStitch ColorTap transfers, commonly used for items like towels or cleaning cloths.
Worst Fabrics for FillStitch ColorTap Transfers:
- 100% Cotton: Cotton does not work well with FillStitch ColorTap transfers because it does not hold the dye when it turns into a gas during the transfer process, leading to faded or washed-out images.
- Natural Fibers: Other natural fibers like silk, wool, or linen are also not suitable for FillStitch ColorTap transfers for the same reason as cotton; they don’t hold the gaseous dye.
- Nylon: Although it is a synthetic fiber, nylon may not always be the best choice for FillStitch ColorTap transfers. It requires a special coating to accept the dye, and even then, the results can be unpredictable.
For the most vivid and durable results, it’s always best to choose high polyester content fabrics when using FillStitch ColorTap transfers. The process relies on the polyester fibers’ ability to fuse with the dye when it’s in a gaseous state, which doesn’t happen with natural fibers.
What Color Fabric Should I Use?
For FillStitch ColorTap transfers, the color of the fabric can greatly affect the appearance of the final product. Here are the best practices regarding fabric colors:
- White or Light-Colored Fabrics: These are the most ideal choices for FillStitch ColorTap transfers. White fabric provides a neutral base that ensures the transferred colors are vivid and true to the original design. Light colors also work well, but the color of the fabric can slightly alter the appearance of the ink.
- Medium Colors: Can be used, but it’s important to note that the color of the ink will mix with the color of the fabric, potentially altering the final hue. For example, a yellow design on a blue fabric may result in a greenish tone.
- Dark or Black Fabrics: These are generally not suitable for FillStitch ColorTap transfers because the process requires the dye to be darker than the fabric to show up. Since the ink is technically colored and transparent, it cannot override the fabric’s color, leading to designs that are barely visible or completely lost on dark backgrounds.
For optimal results, always use white or light-colored fabrics to ensure that the colors of your FillStitch ColorTap transfers pop and remain true to your original design.
I don’t understand how to stitch this, where is the guide?
The guide is the ColorTap Transfer itself! It tells you where the shapes are, the color they are, and sometimes gives stitch direction. After that, it is up to your creativity to add stitches and colors as you see fit! You can try to follow the pattern exactly, or you can completely ignore it and stitch something else on top, or you can just press it and forget it because it looks so good as is! You can even put it into machine embroidery and make mixed media! This is your creative space, and we want to encourage that creativity! If you’re looking for a kit that says exactly where each stitch needs to go, the type of stitch it needs to be, and the color it needs to be, this is not your kit!
If you’re looking for a guide to release your creativity and allow you to stop when you feel finished, this is your place. 🙂
Do I have to stitch the whole design?
You can if you want, but sometimes just a small about of custom stitching can really make the whole design pop! You pick to stitch as much as you want, or not even stitch it and use it as is! You pick the type of stitches and colors you want. Its up to your creative mind. Unleash that creativity!
What if I don’t have an Iron? Can I still use the sheets as a guide and stitch into the paper?
Yes! Incorporating embroidery directly into a FillStitch ColorTap transfer design can add a unique tactile dimension and visual appeal to a fabric item, creating a combination of the crisp imagery of a transfer with the textured, handmade feel of embroidery. Just remember, the transfers are not the full colored print! They will appear a little light color until heat is applied to them.
To stitch thread directly into a paper transfer, using it as a guide for embroidery, one would typically start by applying the FillStitch ColorTap transfer onto the fabric as usual. The transfer acts as a detailed guide, where the lines and patterns in the design provide precise pathways for the embroidery stitches. Tape the FillStitch ColorTap transfer directly to the fabric to use as a guide. This method is particularly useful for intricate designs that might be challenging to replicate freehand or to trace onto fabric.
Once the transfer is in place, an embroiderer can select threads that match or complement the colors in the transfer. Using various stitches, such as the backstitch for outlines or the satin stitch for filled areas, the embroiderer follows the design, adding depth and texture. For instance, if the transfer is of a flower, the embroiderer might use a satin stitch to give the petals a luscious, full appearance and French knots to create the texture in the center.
The key is to choose the right type of thread to enhance the transfer. Polyester threads can match the sheen of the FillStitch ColorTap transfer, while rayon threads can provide a contrasting luster. For a more traditional look, cotton or wool threads can offer a matte finish. Metallic threads might be used to add sparkle to specific design elements.
In terms of technique, it’s important to maintain even tension in the stitching to prevent puckering, which can distort the transfer and the embroidery. Starting and finishing on the back side of the fabric with secure knots will ensure the front remains neat. Small stitches are generally preferred to outline the design accurately, while longer stitches can fill in larger areas where precise detail is less critical.
This technique blurs the line between modern and traditional textile decoration methods, allowing for a vast range of creative expression. The final product is a synergistic piece that showcases the sharpness and color vibrancy of a FillStitch ColorTap transfer with the dimensional beauty of embroidery.
What if I don’t have an Iron or HotPress? Can you press these for me with your HotPress?
If this is interesting to you, let’s chat! As of right now, I haven’t had anyone ask this. Most people like to press their own ColorTap Transfer into a shirt, fabric, pillow, or something they own. If it is interesting, I might be able to get some white polyester fabric and press them here. My press is a little old, but I can try! Reach out with the contact form.
What if I don’t like the background the image comes with or want to change the picture?
Our FillStitch ColorTap transfers are designed to help you spark your creativity; not hold it back! If you would like to change the design by cutting it with scissors to remove parts, to put different designs together for a creative collage, I love that idea! The transfer sheets will work even if you cut them.
However, as each order is custom made, I can’t accept returns; nobody will want someone else’s design. Therefore, like any custom creative art, please realize that this is made to order and can’t be changed afterward. Please ask questions if you need anything!
What gave you this idea?
So, my website KreationsByKara.com is a machine embroidery website dedicated to making the best designs for machine embroidery. I often get other people asking though if I can do hand embroidery kits. Yes I can! 🙂 This website has been years of preparation and work to get things ready, but now that it is ready, I hope you enjoy. 🙂